How to Assemble Your Yuni
Thanks for ordering a Yuni, the world's first unilateral true stereo headphone! If your Yuni is in pieces, here's how to put it together.
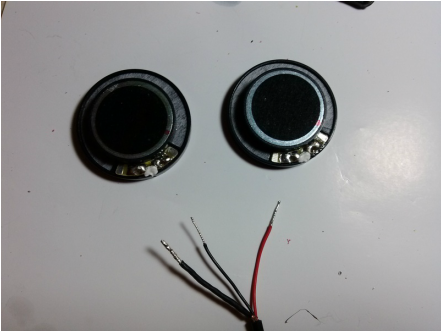
Set the speakers next to one another face down.
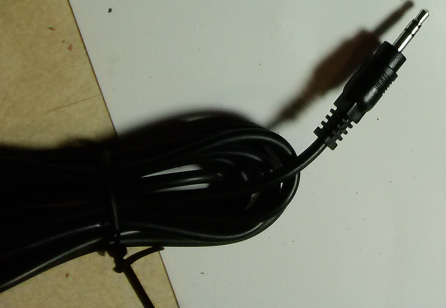
Examine the cord, and note that it has 3 bare wires: one small red, one small black, and one large black. The small red & black wires are the positive left and right signal. The large black wire is ground.
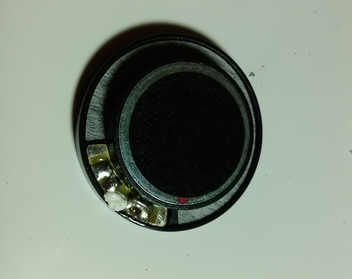
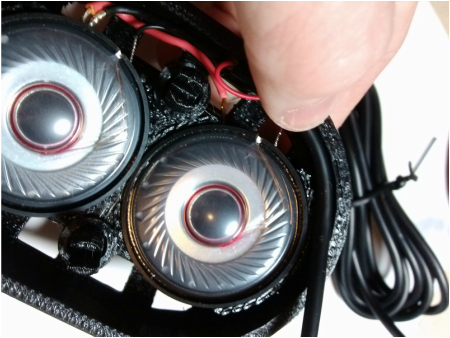
Also examine the speakers, and find the two solder pads.
Near the solder pad on the right, there is a red dot which indicates the polarity of the speaker (red dot means positive).
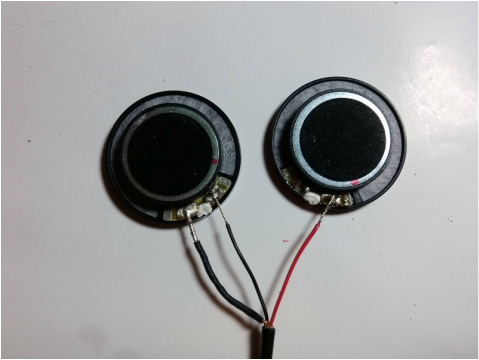
Solder the small red wire to the positive solder pad of one speaker, and the small black wire to the positive solder pad of the other. Then solder the large black ground wire to one of the negative solder pads, at least 2 inches of wire.
Since both speakers need to be grounded, you will need to solder an additional wire from one speaker's negative pad to the other.
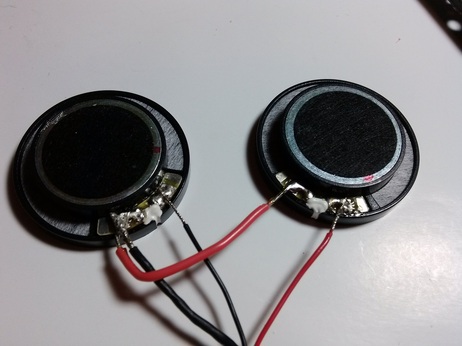
It is a good idea now to test the circuit. Plug in the 1/8th in jack to any audio source, and confirm that both speakers are making the same amount of noise.
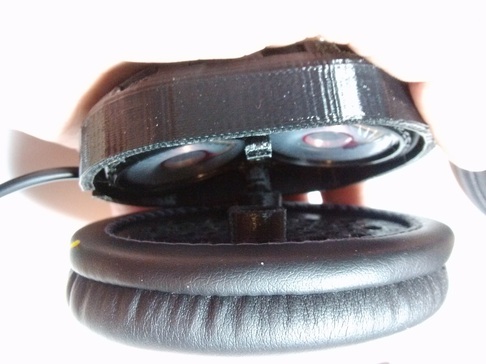
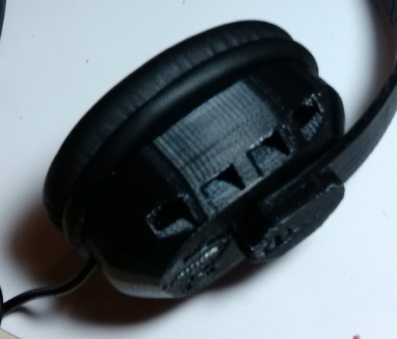
Next insert the two speakers into the Yuni ear cup. Press down along the rim of the speaker to snap into place, and run the wire bundle up and around the top of the cup.

Make sure all the wires will not obstruct the pinpeg holes where the ear cup cover will connect. The cable should fit into a groove, and run the perimeter until it extrudes through the slit at the bottom.
Using pliers, Insert the smaller pinpegs into the back of the foam padded ear cup covers (or into the holes of the ear cup) -- and snap the ear cup closed.
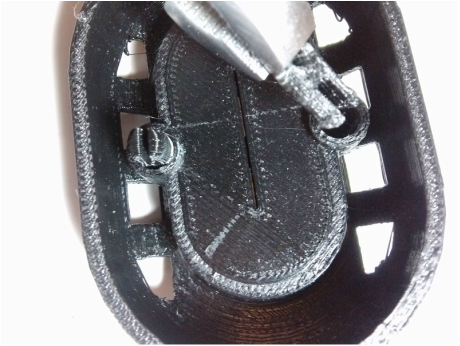
Also with pliers, do the same with the dummy cup. Insert the larger pins into the holes on the back of the ear cup.
For both ear cups, align the pin with the hole on the headband, and snap into place.
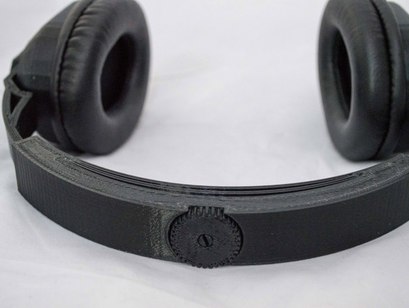
At this point, you're ready to assemble the headband and the rest of the Yuni! To do so, we have an instructional video located here! The headphones in this video are standard two-sided 'phones rather than the special one-sided Yuni, so you may notice some slight differences, but they are made by the same shop that makes the Yuni, so you should be able to follow along with headband assembly! Since you're using the kit and following this guide, the video will start at 7 minutes and 44 seconds in, when it covers headband assembly.
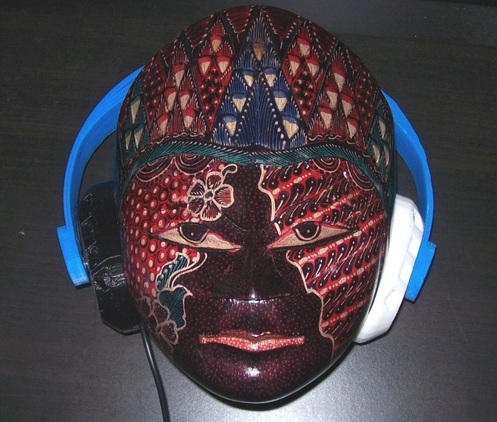
Your Yuni is complete and it looks great on you! Rock out and enjoy true unilateral stereo sound!